Next, measure the mattress you are making the sheet for. Measure the length, width, and depth. Make sure you are truly measuring from edge to edge. It is always better to err on the side of too big than too small.


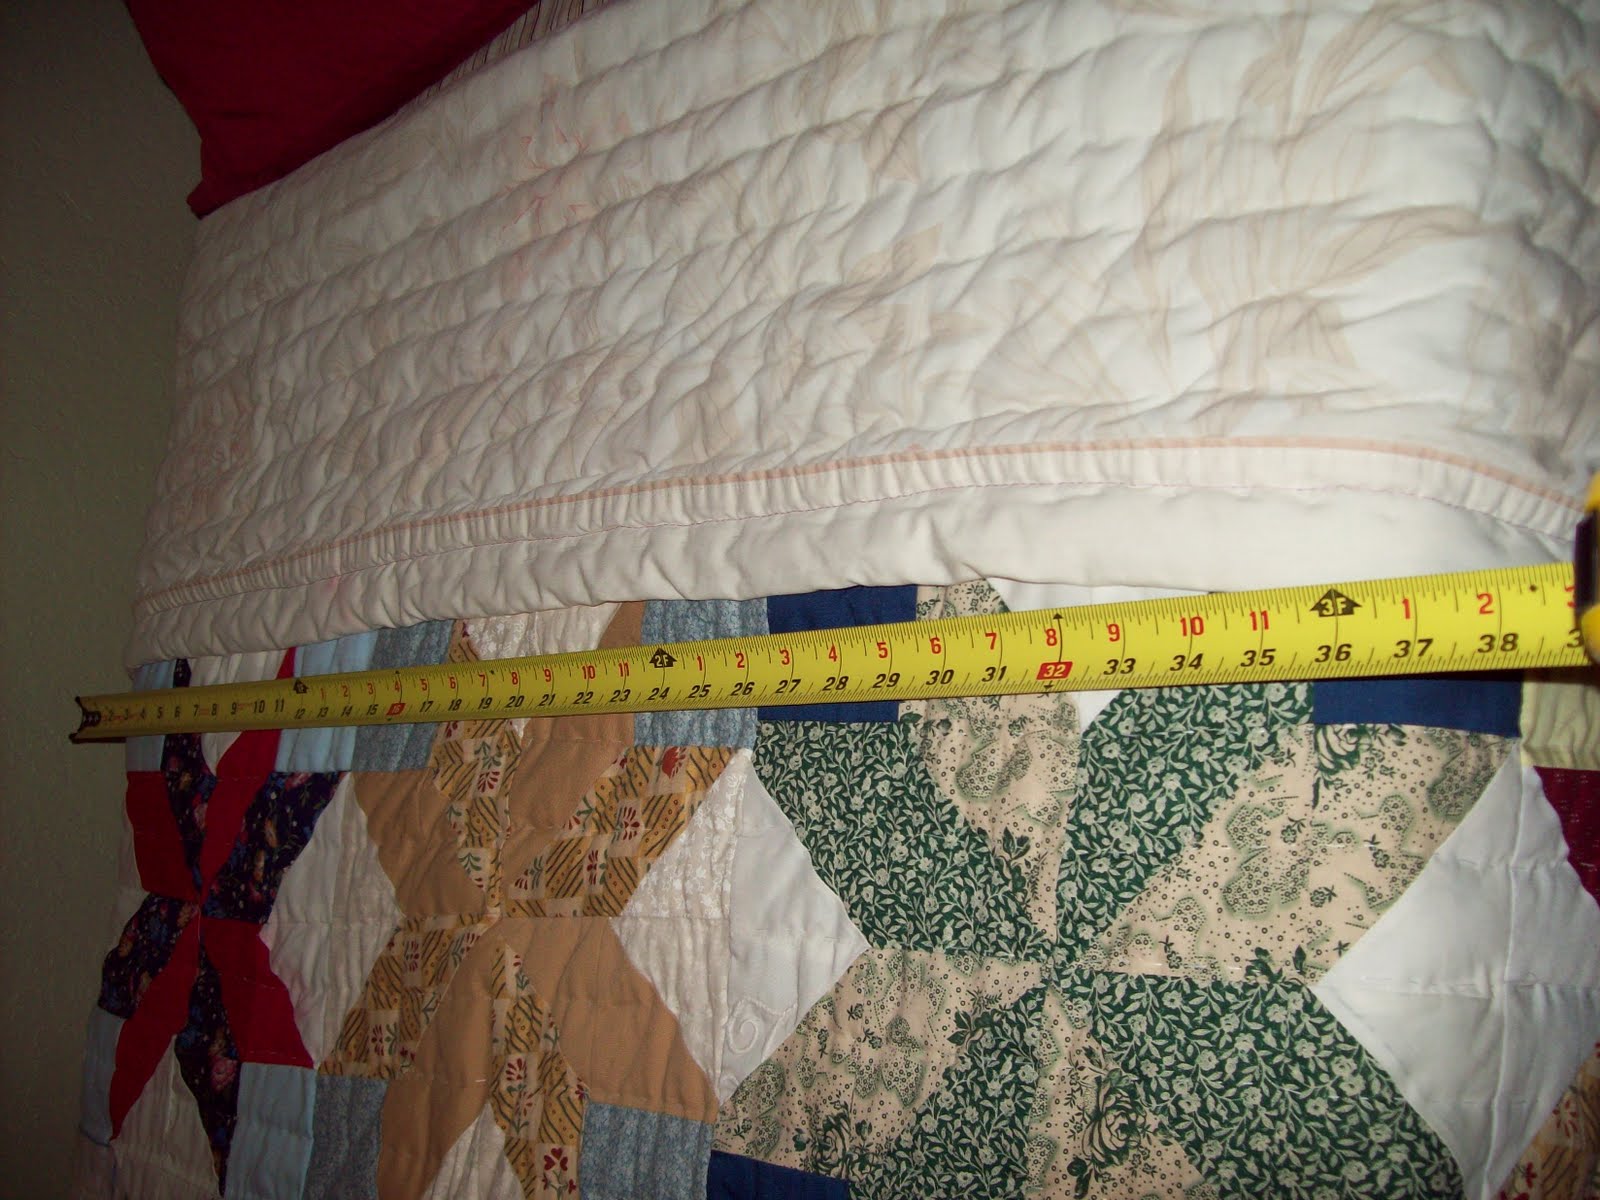
 My twin mattress is 76"x 38"x 10", and you'll add two inches to the depth for the under-gather. So that would mean I need one piece of fabric 76" x 38", 2 pieces 76"x 12", 2 pieces 38" x 12".
 Make sure you measure VERY carefully, otherwise you'll have to piece things together and take twice as long and it's more frustration than it's worth. Trust me.
 If you have to piece bits together like I usually do, whether I cut wrong or didn't have enough fabric-this is what to do; I piece at 1/8" to save fabric, otherwise I use 1/4" seaming. Use a medium speed (even though mine is at it's fastest speed in this picture) since you are working on such a small seam. And keep your fingers out of the way...Sewing through them is VERY painful, and quite dangerous, not to mention messy.
 Now, once your side strips are cut (or pieced), take one of the short pieces and put it right side together with the short side of your large piece. Before you start sewing, make sure they are the same length. If not it is okay. If they don't match perfectly measure then match them up from the center so that you have the same difference on either side.
Sew these pieces together with a 1/4" seam. Do the same on the other end.
Now, once your side strips are cut (or pieced), take one of the short pieces and put it right side together with the short side of your large piece. Before you start sewing, make sure they are the same length. If not it is okay. If they don't match perfectly measure then match them up from the center so that you have the same difference on either side.
Sew these pieces together with a 1/4" seam. Do the same on the other end.  You should end up with something like this. ( I scooched the center piece together to fit it all in the picture.)
 Next match the long side to the large piece, right sides together and sew with 1/4" seam. You will end up with something like the picture below once you've attached both sides.
 Next you will sew together the closest corners. ( I don't have a good picture) Fold the top right short side of the short piece down to match up with the top right short side of the long piece, right sides together. This will create a diagonal triangle across the top of your sheet. Sew these together with a 1/4" seam.
Overhang will be trimmed. Sew your seam following the shortest piece.  When you get to the corner piece, sew right over it. Make sure you back-stitch, or lock your seams.
 When you get to the corner piece, sew right over it. Make sure you back-stitch, or lock your seams.
You should end up with a boxy corner like this. Repeat on remaining corners.

- Now you are going to start a hem 8-10 inches from the end of a short edge. This is a double roll hem which should end up about 1/4-1/2" wide, but you will be sewing on your slowest speed and staying as close to the rolled edge as possible. Stop the hem about 8-10" past the other edge (to match what you did on the first side). Do not close the hem. We are creating a sleeve for the elastic.
- This can also be done with bias tape which is a little easier, but I like the cleaner look of this technique.
- Once you have finished the hem, trim your elastic to just over half the width of the short edge hem. Place a large safety pin through one end of the elastic and start feeding it through your hem sleeve. Once the unpinned end gets close to the edge of your starting hem, stop and sew it down into the hem on the end.


 Continue feeding the safety pin through the sleeve until it peeks out the end and sew the elastic to the edge of the hem. Take your safety pin out and you should have something like this;
 Repeat on the opposite end, finish hemming the sides without elastic, and voila!