Friday, October 12, 2012

Wait...What?!?


Nine Months Ago
 

My little baby hit the 9 month mark yesterday. Yep, nine months old!


It's amazing to me how quickly the time has gone.  She is crawling, standing, trying to walk, and talking. She has her daddy's adventurous/mischievous nature and her momma's grace, or lack there of.  It's quite a combination.  She climbs over every barrier we can fashion and often bangs her head on the floor during the tumble that follows, but she's resilient. She usually just gets up and tries again.

We love watching her learn, and today I had the biggest surprise of all.  She spoke.  Not just the lovely babbling mumbles she's been doing for the last few months, but a real sentence.  In fact, two of them. Wait....WHAT?!?  Yeah, you read that right.  My little Lila said two sentences to me in direct response to questions I asked her. They were short, but it was still amazing.

When she woke up this morning, she had her regular diaper change/bottle while lounging across mom routine.  Afterward, she was standing on my lap fully awake and happy, but gassy.  After several rather large toots I asked her "Does that feel better?"  She looked at me for about half a second then said, "It does!" So I kind of half laughed in shock and amazement, then decided to keep going.  I asked, "Did you sleep well?" She responded, "I did!" It was incredible.  After that I started getting the normal dadada babble as she tried to tell me a story, but she said those two responses plain as day. Who's a proud mama?  This gal.

Then, as we were saying bye to Daddy and getting ready to leave Ryan asked her teasingly "Is Amanda Dodson your dad?" It's a joke he thinks is funny to use my maiden name and say I'm the dad and he's the mom.  I tell him not to because she'll get confused, but when he asked that she turned to me and said "Momma, Momma."  Melt my heart. :) It was intentional, deliberate, thought out, and not because she was feeling bad. The few times she's ever said Momma have been when she really was upset and didn't feel well.  This was an excited expression, not a whiny one.  It was wonderful. And then, of her own volition, without any prompting(we've been trying to teach her bye-bye and waving for about two months) she said "buh beh bye bye" to her Daddy.  When I asked her to say bye bye again and wave she gave me a look as if to say, "Didn't you just hear me? What do I have to do woman? Do you need a sign?  Hello!! I JUST SAID THAT!" Lol...it was a very long, very pointed look.

I am so proud of my little one. She's growing so fast, and expressing what she learns more every day.

One Week Ago
Talking to me while I took a picture before school.


We thank you Lord for choosing us to be caretakers, protectors, and guides for her soul on this earth.  We are blessed to have her and ask your guidance as we train her up in your truth and love.  Amen.


Tuesday, October 2, 2012

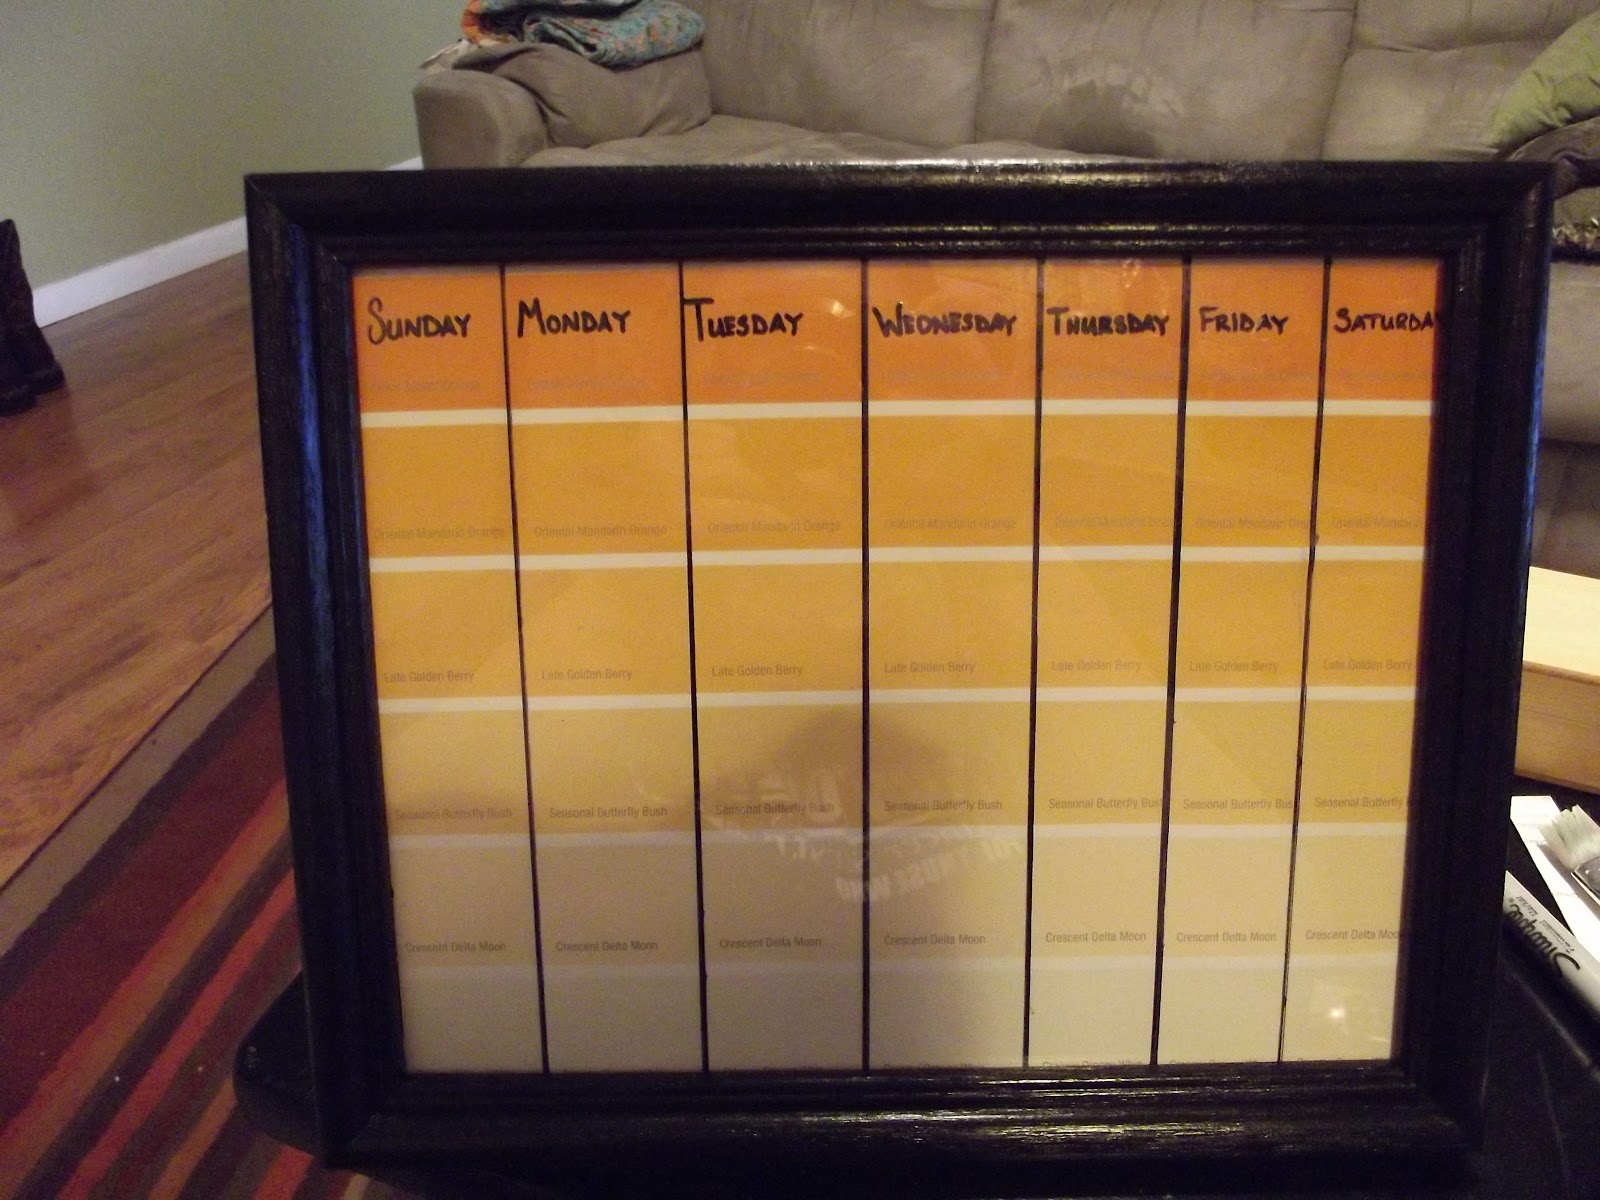
Paint Chip Calendar

I decided to make some tutorials for a craft party we hosted about a month ago. One of our items was a paint chip calendar.  This would be great for a monthly plan ahead menu board, chore chart, or even general memo board.  I had all these supplies on hand, but if you don't they are pretty easy to find in a big box store like Wal-Mart or Target, or you can improvise/substitute too.
 
 Gathered my supplies;
Old frame
Paint Chips
Craft Paint
Small Paint Brush
Scissors/Exacto Knife
Black Marker


First, I took the glass out of the frame and painted the frame black. 
While you have the glass out of the frame, go ahead and clean it really well.


Also, don't drop the freshly painted frame on your carpet/rug.
 Fortunately for me I was planning on getting rid of this anyway, and it cleaned up okay for the most part.

Next, I cut my paint chips to size, leaving six "boxes" along the length.
 
 The cardboard you see was already inside the frame.  If your frame doesn't have a cardboard back you can use, just cut a stiff piece of cardstock or cardboard from a box.

Next I tried to figure out spacing for the width.
 This was a bit tricky for me to just eyeball, and it ended up a little less than perfect, but it still works.

Before I glued the paint chips down I ran a black marker along the edges for definition.


Here you can see where I got really messy.

 So I made my lines a lot thicker to cover it up.
 Glued it all down and wrote the days on top, then put it back in the frame.

Now we can use dry erase markers on the glass,
At our craft party several people alternated colors or put the light/dark going opposite ways.  Make it your own and enjoy!


Tuesday, September 25, 2012

Button Crafts


See this?  Yeah, I made that!

 I love crafting, and I especially love making crafty things to give as gifts. So, when I found out my friends Abby and Cody were expecting a baby I knew what I wanted to do.  I made up a little gift basket of things a new mommy and daddy should probably have but rarely get at baby showers, and threw in some fun little extras for mom, and then got to work on this little crafty bit.  It took me almost 6 months to get it finished, but only because other things kept getting in the way.

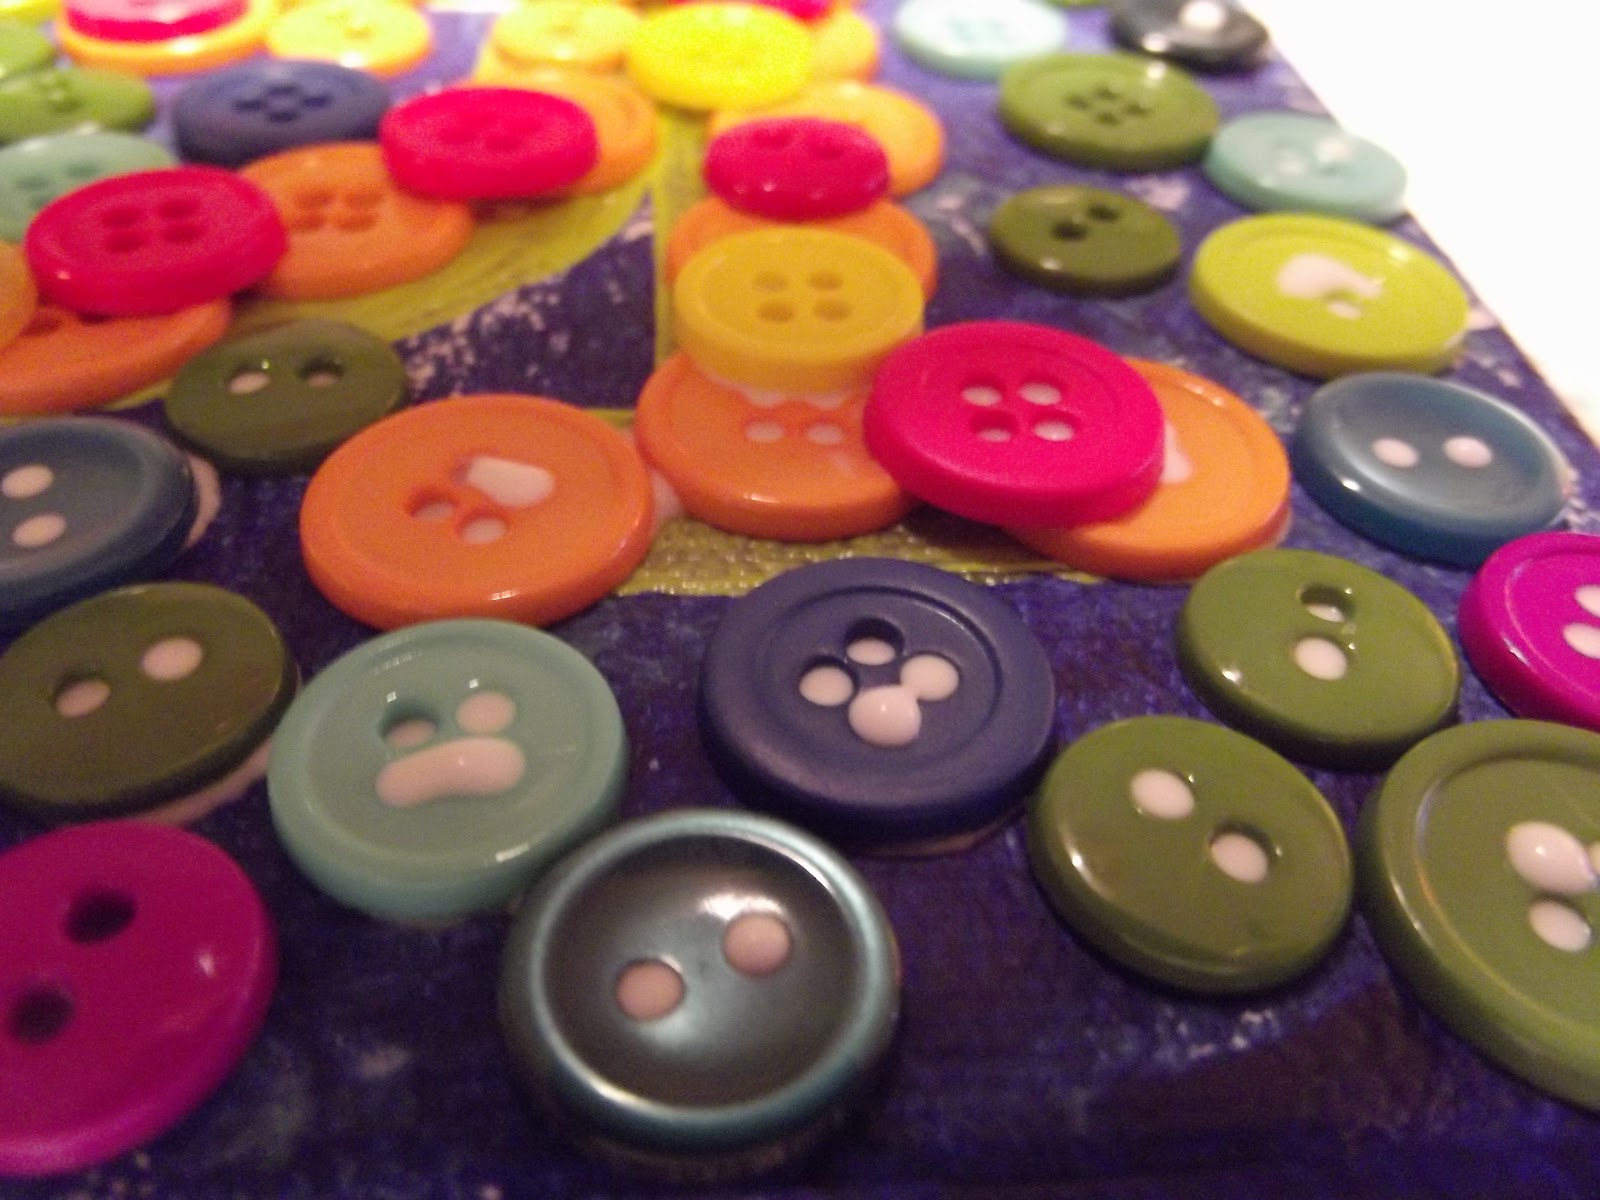
 I gathered my supplies of canvas(I previously painted the background and letter), tacky glue, and buttons.  LOTS of buttons! Oh, and a pair of tweezers to pick up/place buttons with glue, and a paper towel for wiping off excess glue on the tweezers every so often.

 Next I separated buttons into glass bowls by color groups and started arranging them on the canvas to see what looked good.  BEFORE gluing, and after talking to my husband(his opinion is very important in all color decisions), we decided the green/blue combo wasn't going to pop enough, and we knew Abby really likes bright colors.

So, I started playing with pinks, oranges and yellows.  It was looking pretty good, and I decided to add the other colors to the background for something extra.  We liked the look of the greens, blues, and purples against the bright orange, pink, and yellow. 

Then came the gluing....lots and lots of gluing! It took about 2-3 hours probably but those were distracted hours of tv watching and baby chasing too. I glued each button individually, grabbing it with the tweezer, putting a drop of glue on the back and carefully placing them each back on the canvas.  The glue seeps through the holes, and sometimes squishes out the sides, but it dries clear so it's not a big deal. Just let it dry flat or you'll be seeing some droopy buttons and drippy bits.


The initial trial gave us an idea of what it would look like color wise, but I decided we needed to build the letter up a bit more so I just kept layering and building out around the letter.

And this was the final product.  I see where I could have added/built up a little more in some areas, but it turned out really cute regardless.  We were so excited to give it to our friends to decorate their nursery for their little one, and they loved it too.  I've done another one recently on a picture frame, but I think I like the canvas better.  So, go out and try it!  It's fun, and cute, especially if you have colorful buttons like these. Also, you could do a shape instead of a letter.  I outlined my letter so I had a basic guide to follow, but if you don't want to you can just eyeball it.

Materials; 
8"x8" canvas
craft paint and brush for background
Buttons:about 200, all different sizes and colors
(got mine at Wal-Mart in color coordinated packages)
Tacky Glue
Tweezers
Small cloth to wipe excess glue from tweezers

Time: Roughly 2 hours start to finish
Dry time: Overnight 
(Lay flat to dry or you will have droopy letters and drippy bits)

Happy crafting!!


Tuesday, September 11, 2012

Baseball and ....Cake?


You know that cake ball craze that's been going on for a few years? 
No?
 Well, head on over to Pinterest, or Google Images, and type in cakeballs, or cake balls, and you will be inundated with images of overly cute edible goodness.


I've made cake balls on several occasions and most people really like them because they are small, generally cute, and semi-portable. I decided this would be a great option for my husband's 30th birthday celebration which was outside.  I stuck a lollipop stick for extra portability so we wouldn't need plates and forks.  We had a baseball themed party and this is what I came up with;

Now, I'll be the first to admit they aren't perfect, but aren't they adorable!?!
This is on the wax paper while we decorated them. See the end for a final look!

My homemade baseball Happy Birthday Banner. Click the picture to zoom in and see the detail. Oh, and note the extra brown grass...welcome to Texas in July! 


 Mom grilling hot dogs. Quintessential baseball food.


My husband admiring trying to decide which flavor he wants. 
His sister helped me decorate them, and we put printed baseball lollipop signs to let everyone know what flavors we had. The baseball design was lemon cake and we made a chocolate drizzled design that was pineapple cake.
It was so much fun, and even though the 'stitching' took some time I'd still do it again. 
Everyone loved it and we had a great party. 


Tuesday, September 4, 2012

New Art

I totally made this!
*Note: I just found this post and apparently never published it. Oops.  It should have been posted around this time last year, but hey...better late than never right? Right.  So, check it out.*

Saw the idea on Pinterest...and decided we'd try it for the nursery.  It was actually messier than I anticipated, but relatively easy to do and we are really thrilled with the results.  It now has a home in the nursery :)
If you decide to try this be aware; 1. lining up the crayons so they are straight is more difficult than you'd think. 2. Make sure you use a hair dryer that blows perfectly straight out (see all the crazy splatters going diagonally across the canvas?...yeah, they also went on the walls) 3. Cover the area you are working in REALLY well (see note 2.)  The hair dryer I used had a tendency to blow multiple directions causing hot wax to fly off the canvas and on the bathroom wall, floor, counter, mirror, my hand and foot, the rug...Most of it cleaned up pretty easily except for the textured wall.  Fortunately I was able to do a quick touch up with craft paint over those spots so you can't see it.  We will end up painting the bathroom again at some point because it needed a second coat anyway.  But, be warned...hot wax is HOT. :) 

I used an old canvas I had laying around and had to paint over something, but taking time to paint the canvas, pick out colors, line them up, glue the crayons down and melt the wax it probably only took me 1-2 hours which is pretty good.  Cleanup took a little bit, but would have been much better if I'd thought ahead a little more.

So, Happy Crafting!